Hi,
I like to use fresh herbs in my kitchen, and since I’m now living in an apartment, I don’t have huge amount of space. Luckily for me, I have a balcony – small, but big enough to house some plans. And for one wall I had a plan to make it herbwall.
What’s a herbwall?
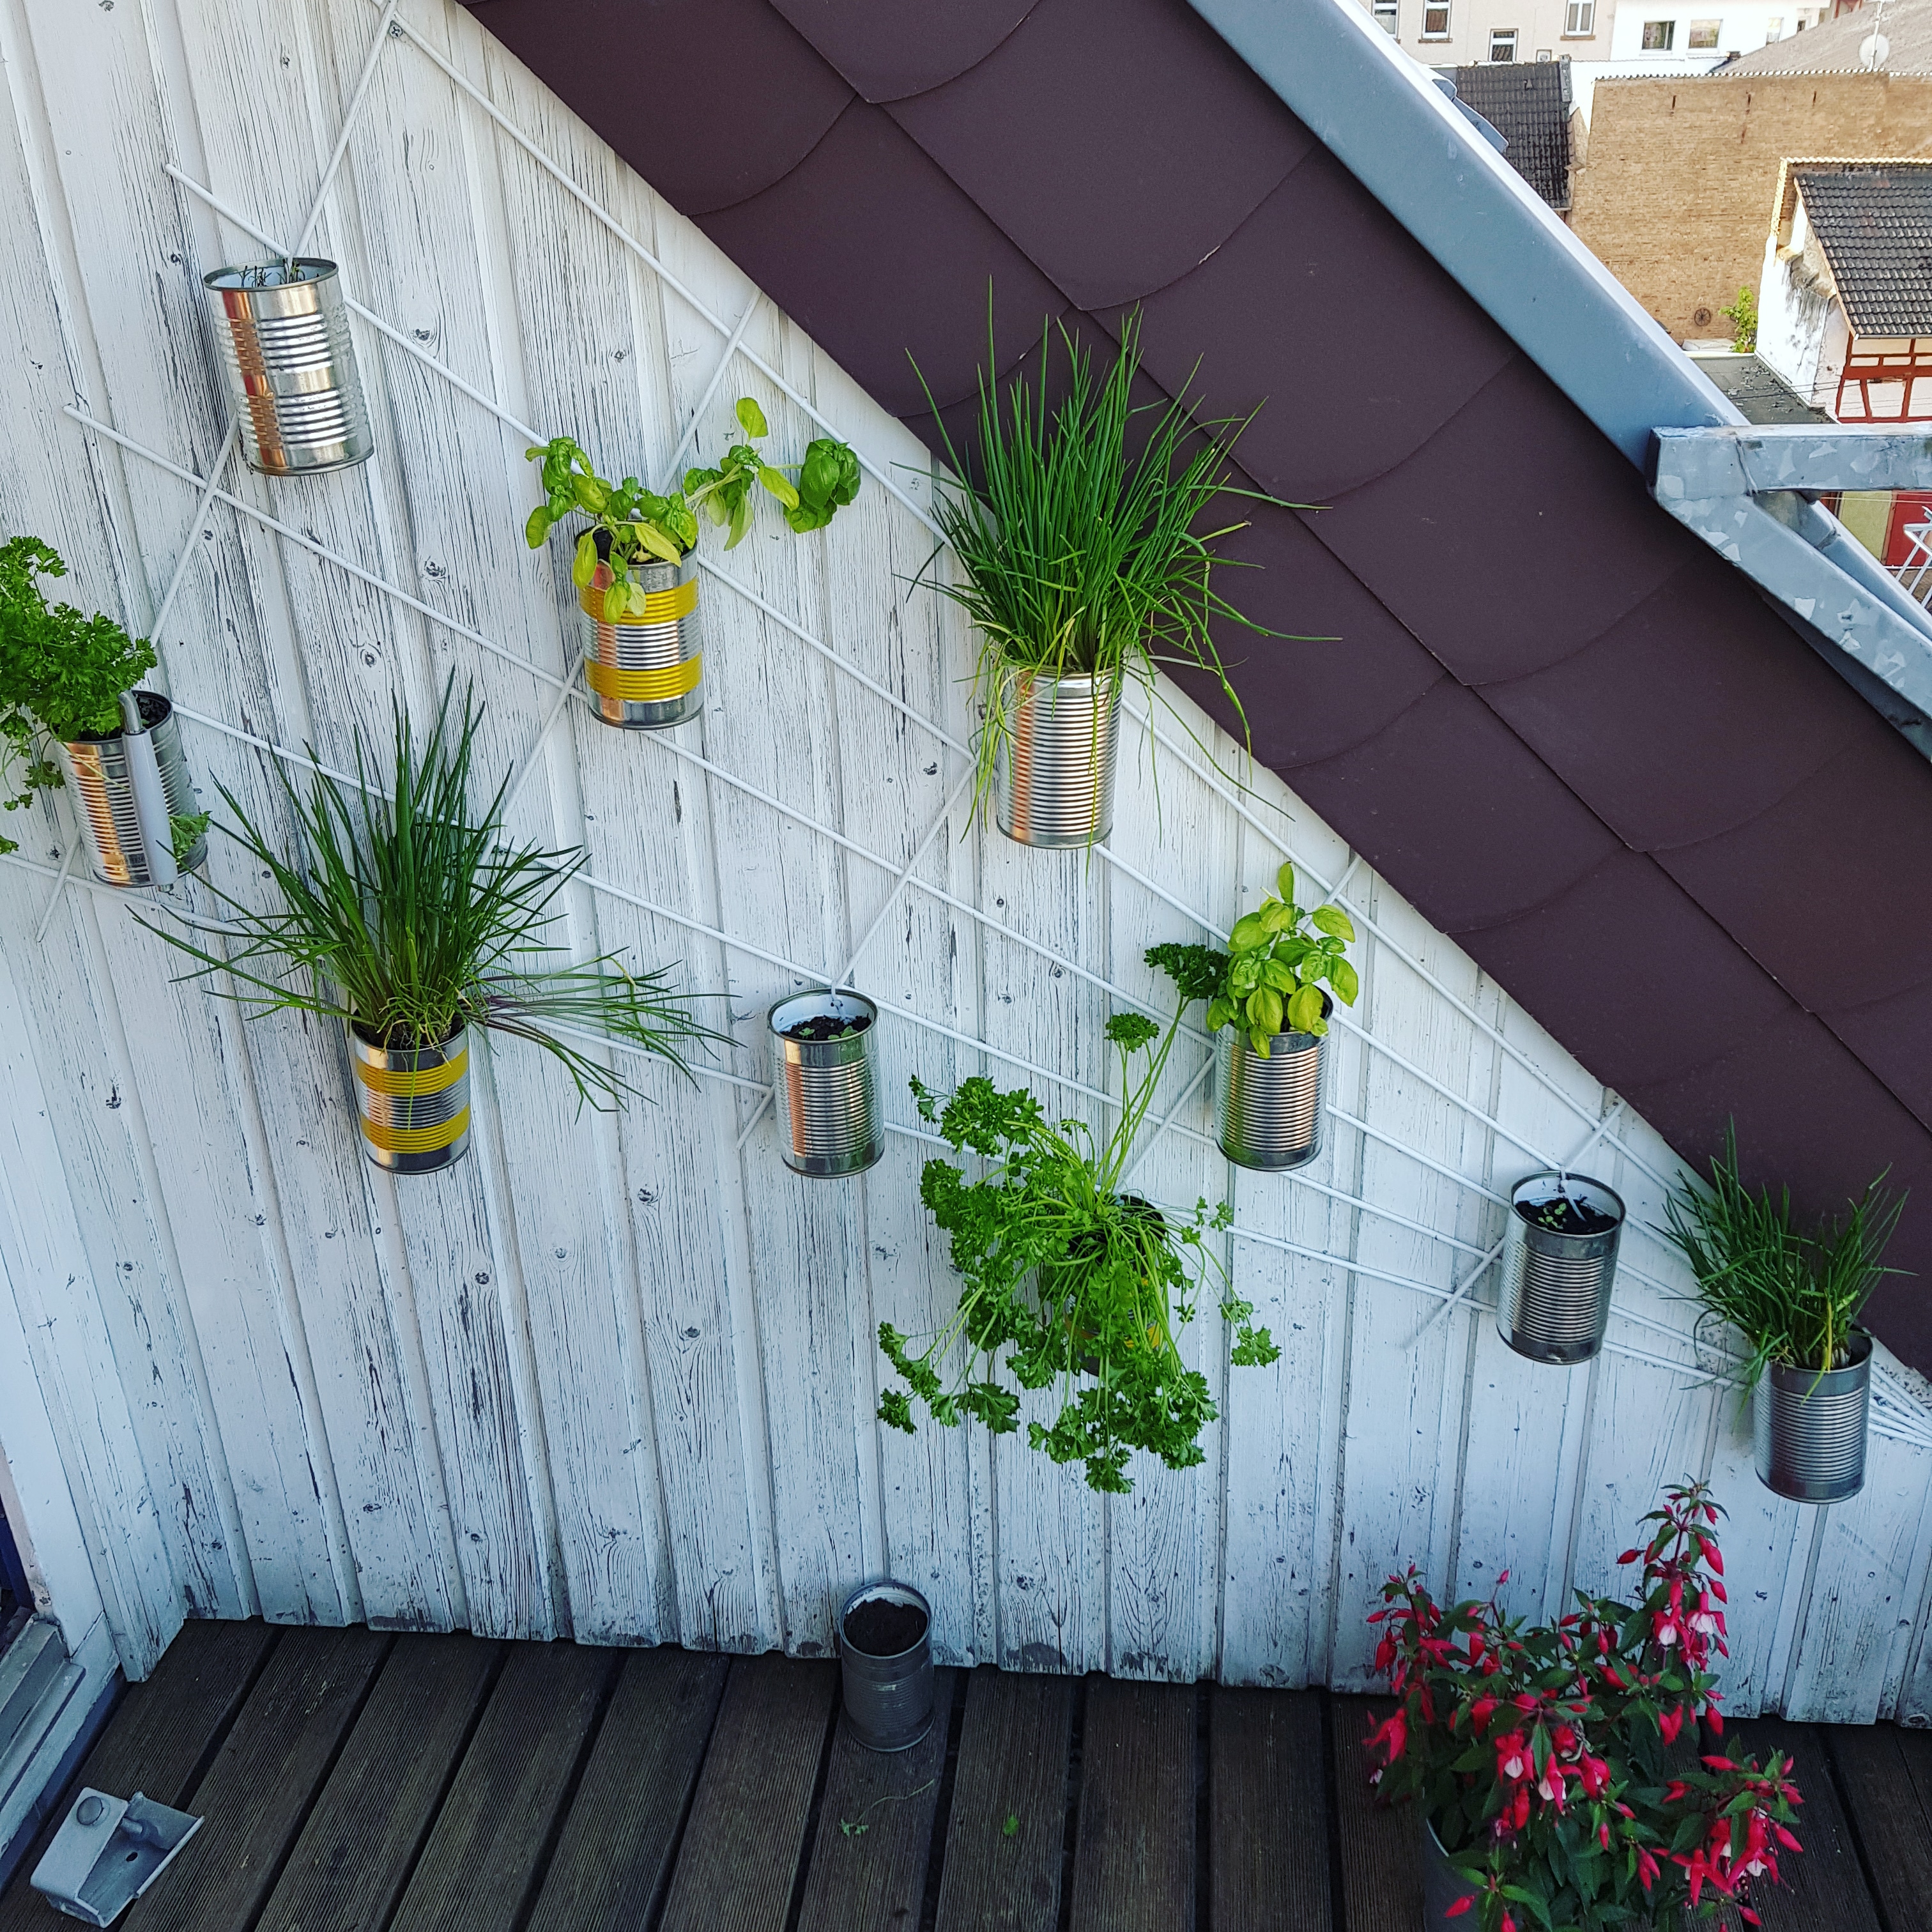
Herbwall is a term I coined for wall on which I grow my herbs. With the small rooftop balcony, there isn’t much space that I can use to grow the herbs. At least not horizontal space. But there is vertical space. So I decided to put my herbs on one of the walls. I did it by recycling the tin cans and with one metal trellis.
Needed for herbwall
tin cans
metal (wire) trellis (in a shape that fits on wall)
4 screws or hooks
zip ties
herbs and seeds
hammer
nails
screwdriver
soil
To make herbwall first choose a wall you want to put your herbs on. I suggest one that is close to the door, so you can more easily harvest the herbs. Especially in winter, you don’t want to stay outside for long. Then measure it and either find a ready made trellis (mine is triangular so it fits on my triangular wall). Instead of trellis you can use construction armature mash. You can paint the trellis in any colour using spray paint. And then secure it to the wall using 4 screws or hooks. Trellis usually comes with it’s screws and holders, but in this case you don’t want to use the holders, since they will make the trellis sand away from wall. In order for our cans to be secure we need the trellis to be as close to wall as possible.
Prepare the cans by poking 5 small holes in bottom using hammer and a nail. The next step you can do with a drill if you have one. Simply drill a hole in the side of the can, near the top. Make sure that the seam of the can is facing wall. If you don’t have the drill then poke the hole in the side using hammer and nail, then use the screwdriver to widen it so zip tied ca be pulled through.
Let’s plant the herbwall!
Now that everything is ready for planting we can add our herbs to the wall. I tried first securing the cans to the wall, then planting in secured cans, but it didn’t work good. It is more easy to secure the empty can, but then planting turned out to be more difficult. So I also tried planting first then securing to the wall. This proved to be better. First put a piece of kitchen paper towel on the bottom of cans, then fill the cans with soil and add the plants and seeds, then secure them to the herbwall with zip ties. The kitchen towel stops drainage holes from filling with dirt and also the water that runs out of the cans is more clean.
It’s easier to tie the cans to the wall if you have a helper who can hold the can while you tie it, but I did it on my own. Water the plants until the water is running through the drainage holes and let them rest for a week or so. Just make sure you water them regularly. After one week they should be established and you can start using them 🙂 . This is a fun project that gives you great and tasty results, so if you have an outside wall you can do this on, give it a shot. 😉