Hi,
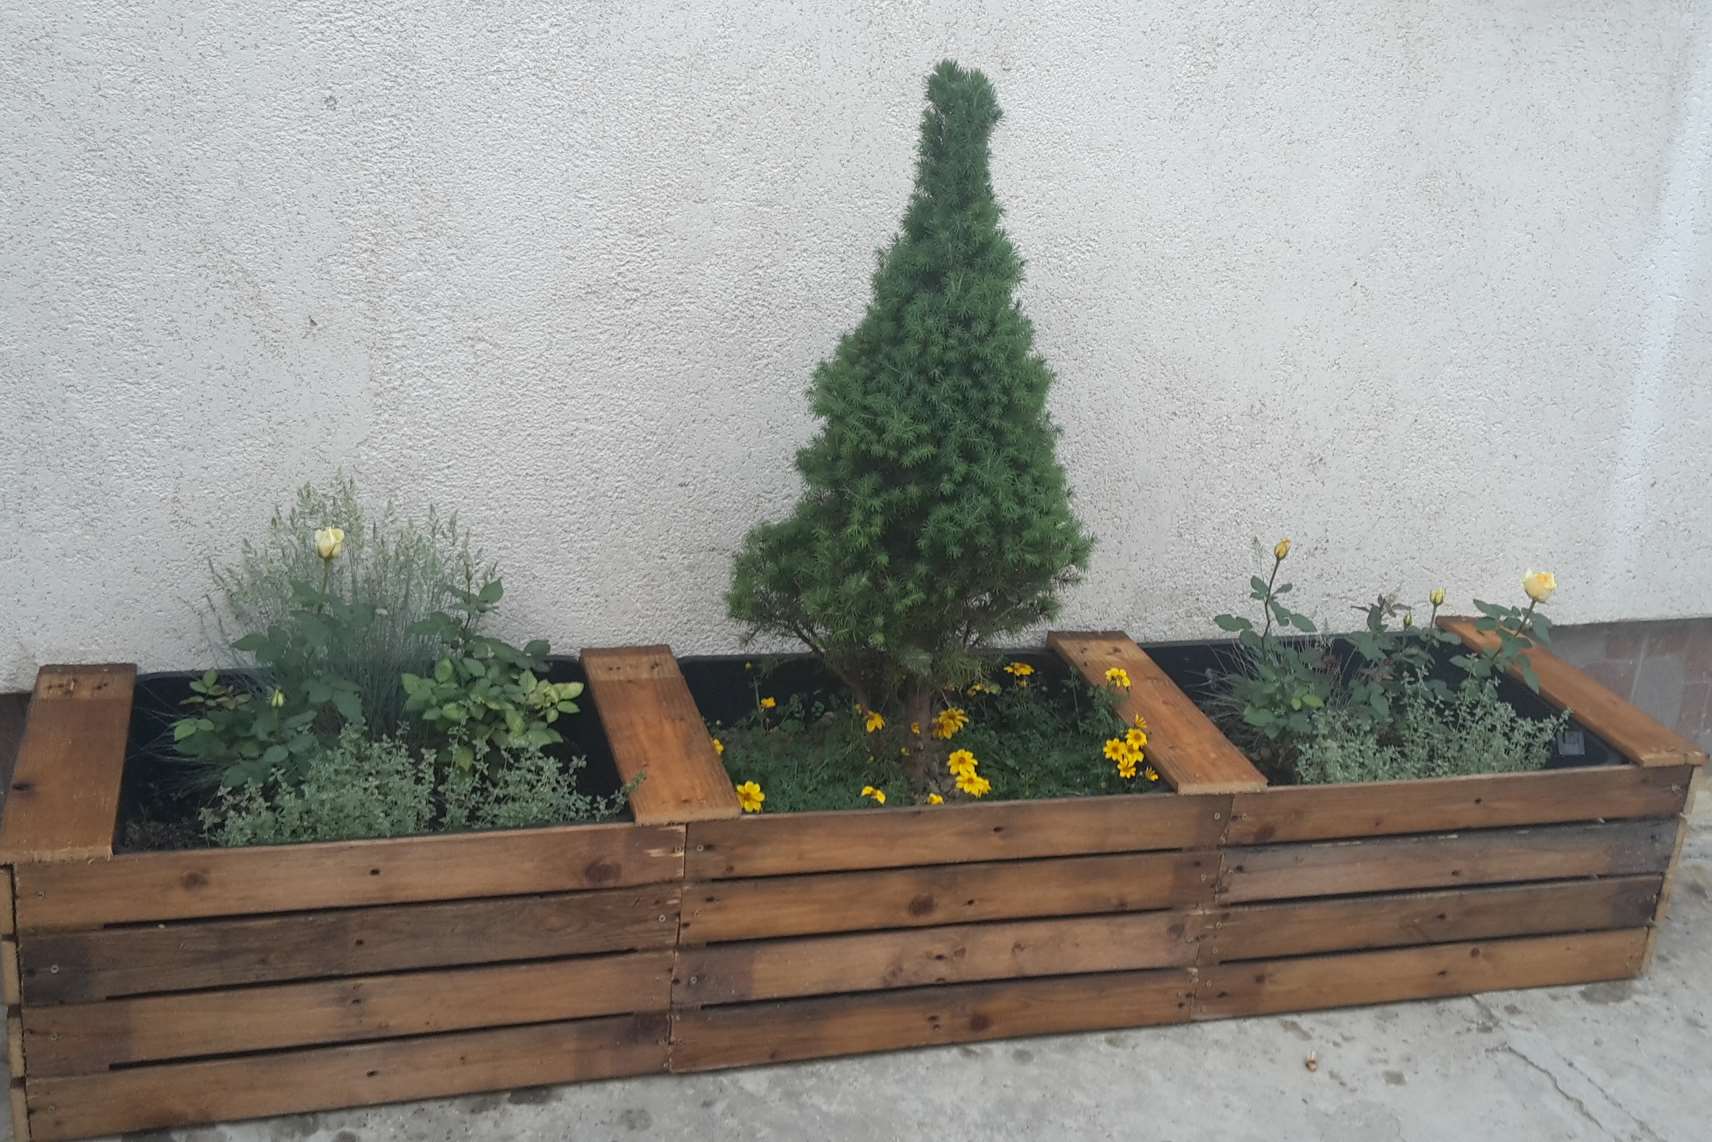
we got some pallets from our friend some year ago. We wanted to used them for furniture, but opted not to in the end. So I decided to use them to make reclaimed wood container cover. I disassembled them and then used the wood to make the covers so that containers look better. I use standard plastic construction containers for plants. And giving them wood coverings really spruced them up.
Needed for wood container cover
Needed tools and materials for this project are:
- 3 (or more) pallets – disassembled so you can use their planks
- saw
- screws
- drilling bit size 3mm
- accu-drill
- furniture oil
- long plank or long level
- separators to more easily separate the planks

To make the wood covers, first measure your containers and cut the thicker boards so that they are about 0.5 cm higher then the containers (these we’ll call vertical planks). Then measure the length of the containers (full length, including the handles) and then cut the planks that your are going to use for covering the front of the containers.

Start the assembly by taking two vertical planks and setting them against the level or long plank. This is so that you don’t have to measure the exact bottom of the first horizontal plank. Then set the first plank on the vertical planks, and use separators to equally separate the first plank for the level. Drill and screw the plank to the vertical ones. Then move the separators from the bottom of the horizontal plank to the top and add the new horizontal plank. Drill and screw that one to the vertical ones. Repeat the process until all are used.

I wanted the covers to look like there is three boxes connected together, so I screwed my horizontal planks to the first vertical right at the beginning edge and on the other side I screwed them around the middle of the vertical plank. This allowed me to continue with other planks so that it looks like two separate wood containers are one beside the other. When you want to finish then you simply screw the planks to the end of the vertical plank.

After the front of the wood container cover was finished, my hubby helped me to put it in front of the containers. We then needed to make them stand on their own. This was done by adding the two vertical at the back of the middle containers, and then screwing the planks over the handles. This way we hid the handles and made the cover more stable.
Adding the sides

After the front was finished and stood up, I added the sides. First I set the end vertical planks where they need to be. Then I drilled and screwed in the horizontal planks, also using the separators so that they are equally spaced as the front ones. And then screwed the top planks over the handles. And the reclaimed wood container cover was done!

After you add the sides, you can sand everything (my sander broke so I didn’t sand them now) and protect it using the furniture oil or some other protecting method.
Some observations
These are my observations for this project. How you can adjust it to make it more easily.
- Drill the guiding hole before screwing in the screw – prevents the wood from splitting
- This is dry wood and it will split easily, don’t worry about that. Use the drill and if a board splits, then screw each of the halves of the board to the vertical plank while making sure they are as close as possible. In the end you won’t be able to tell that board has split.
- If you have a nail gun, use that
- If you have two accu-drills use one for drilling and the other one or screwing. This way you won’t have to change the bits all the time
- It’s reclaimed wood. It won’t be the same color everywhere. Don’t stress about it, or sand it down like a lunatic until you reach the unstained wood.
This is a two afternoon project that you can give a try. It yielded a suprisingly pleasant result for us, so do give it a go. And have fun! 🙂

